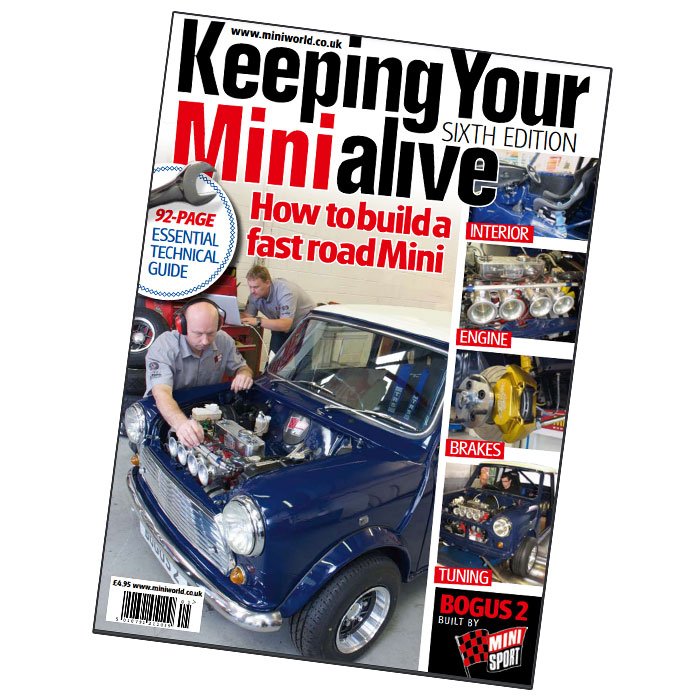
In Part 4 of our Bogus 2 rebuild, we delve into the paint, transforming the restored shell from raw metal to a gleaming masterpiece. Here at Mini Sport, we prioritise achieving a concours-quality finish, and paint plays a vital role in achieving that goal.
Prepping & Paint: Bogus 2 Build

Prep Work is Key
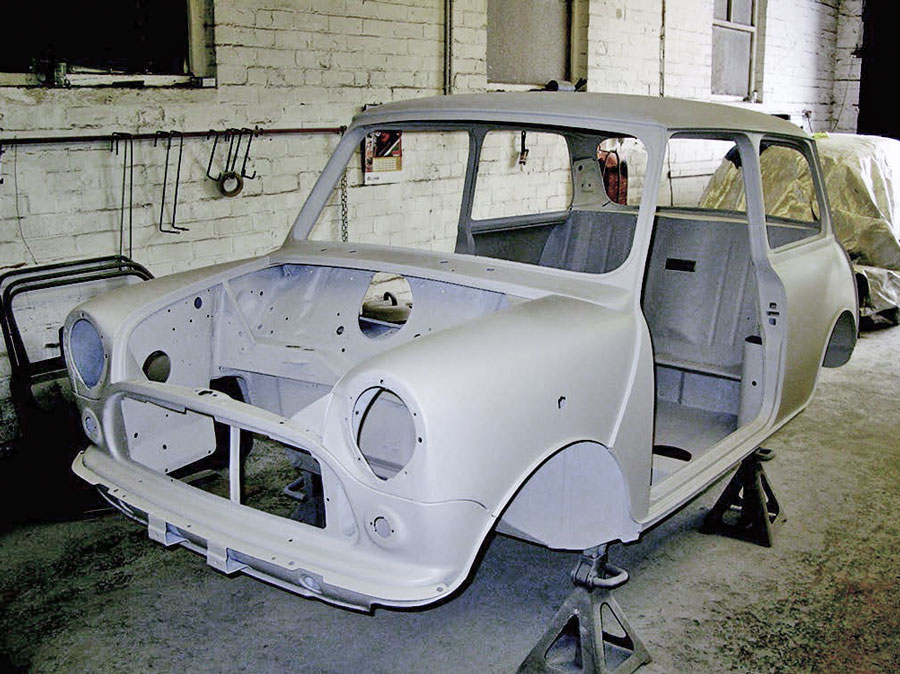
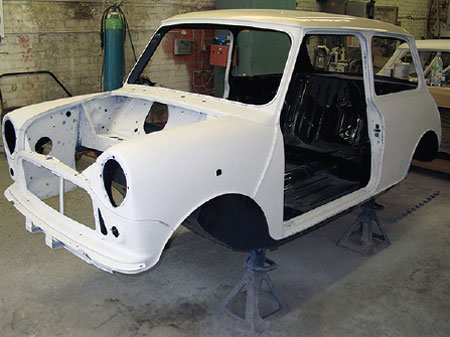
The journey begins with meticulous preparation. After "flatting" the shell to remove any remaining paint and degreasing the surface, we apply an etch primer. This acidic primer bites into the metal, providing excellent adhesion for subsequent paint layers. A high-build filler primer follows, creating a smooth base for the final colour coats.
Challenges and Solutions
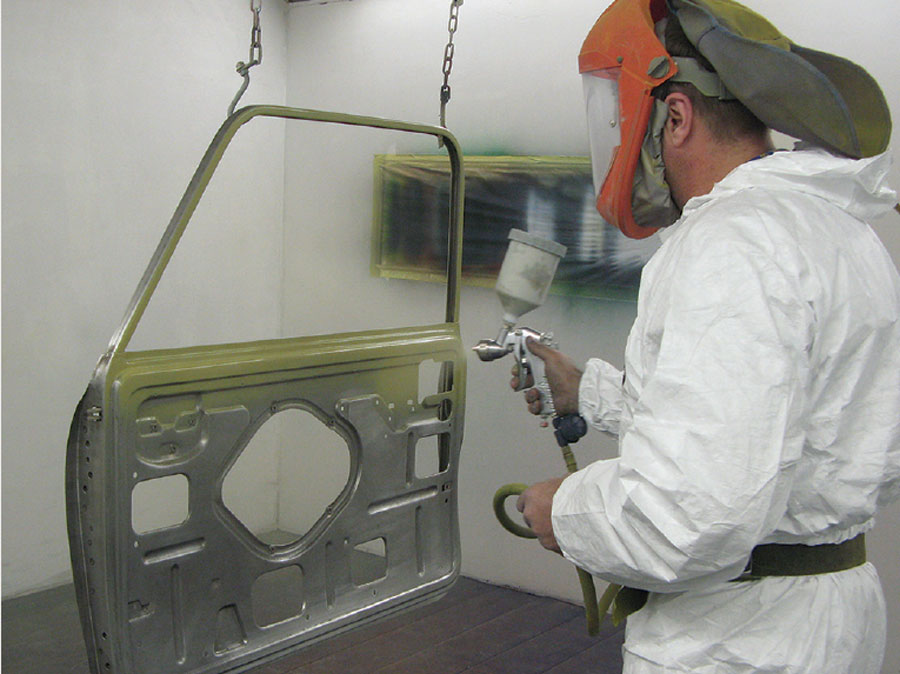
Painting a Mini's underside presents a unique challenge due to limited access. To ensure a flawless finish in these areas, we keep the shell on the rotisserie and spray at a 90-degree angle. This allows for better coverage and a truly professional result. Watch our Body Shop Manager Basil paint a Mk2 Cooper Shell for Bangers & Cash: Restoring Classics!
Safety First
Spraying paint, particularly two-pack or isocyanate paints, poses serious health risks. Inhalation can cause permanent lung damage. That's why we recommend entrusting paint jobs to professionals who have the proper safety equipment and controlled environments like a dedicated paint booth. Contact the team for more information on our Spray Centre!
Beyond Aesthetics: Sealing for Longevity
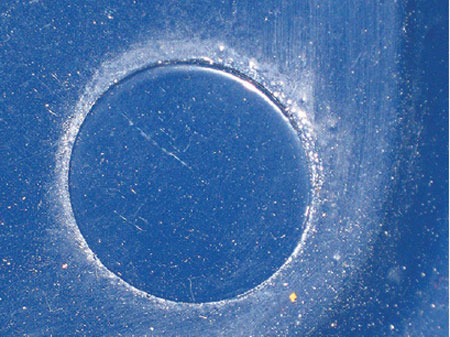
Mini Sport goes a step further than simply using rubber grommets for unused holes. We prefer bonding small metal discs for a more durable and weatherproof seal. This approach also offers additional protection in case of an accident. Some motorsport regulations even mandate sealed compartments, and this method provides a reliable solution for the boot and other areas. For advice or recommendations on Mini Motorsport parts contact our Expert Sales Team!
Masking Matters
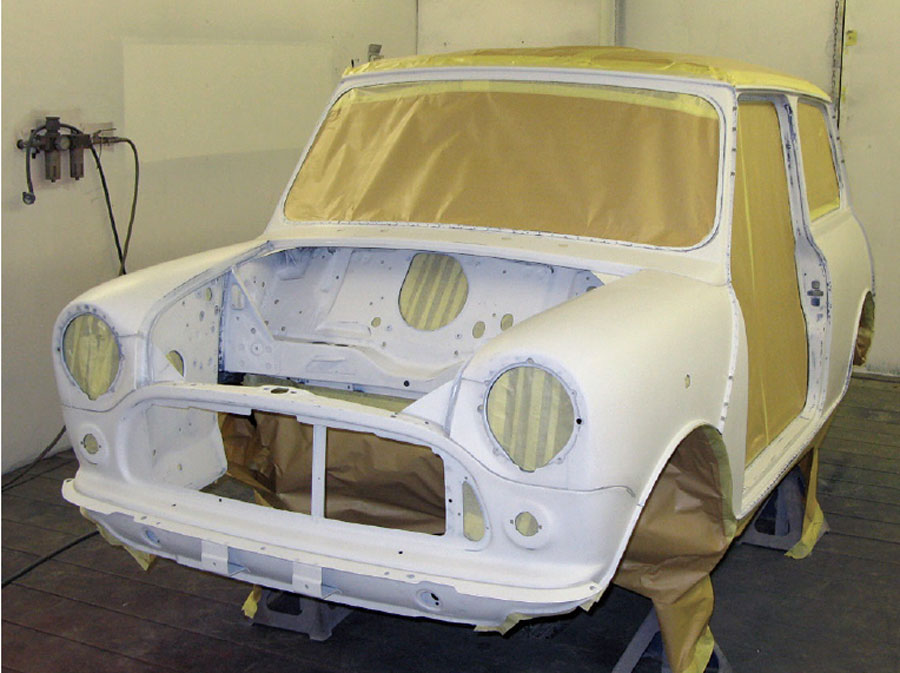
Masking is a crucial step before applying different paint colours. Even tiny gaps can lead to paint bleeding. We take extra care by applying tape and meticulously sealing the edges, especially where colours meet. Remember, paint can travel far in a spray booth environment!
Seam Edge Cover Secrets
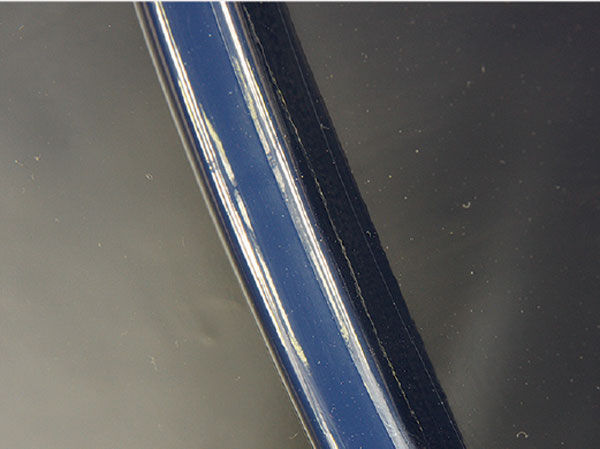
For Minis painted with two-pack paint, there's a special technique for fitting seam edge covers. First, prime the car, then install the clips and spray them with primer again. Once dry, apply a coat of two-pack topcoat on the area before attaching the primed edge covers. This approach prevents rapid seam corrosion, a common issue with the Longbridge factory's method of fitting covers before painting.
The Final Touches
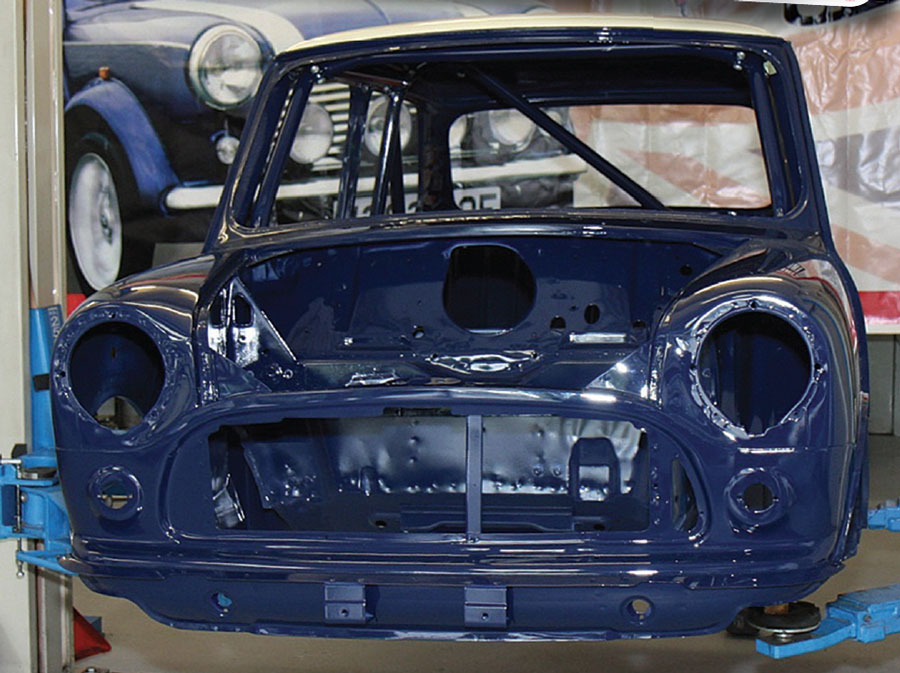
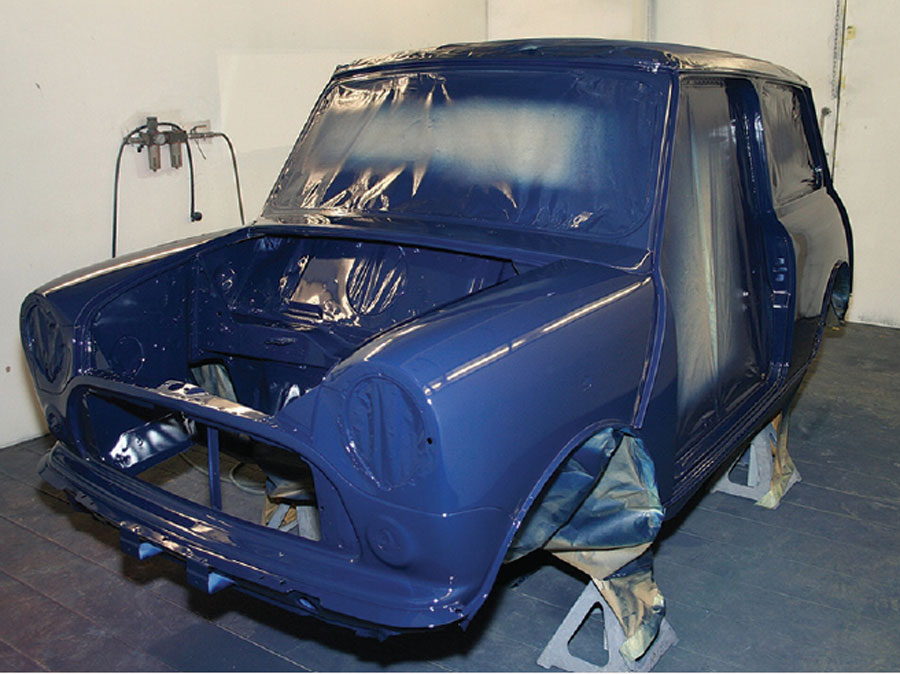
With everything masked off, Bogus 2 receives its final coat of two-pack paint. We opted for a stunning Rover Eclipse Blue (code JNN or BLVC459) for the body and a classic BMC OE White (code WT3) for the roof. Using sufficient paint mixed in one go is essential. Aim for three coats following the paint manufacturer's instructions. It's always better to have more paint than needed. Leftovers can be used as a base coat, minimising the risk of colour variations due to different paint batches.
From Shell to Safety Cage: Painting Everything
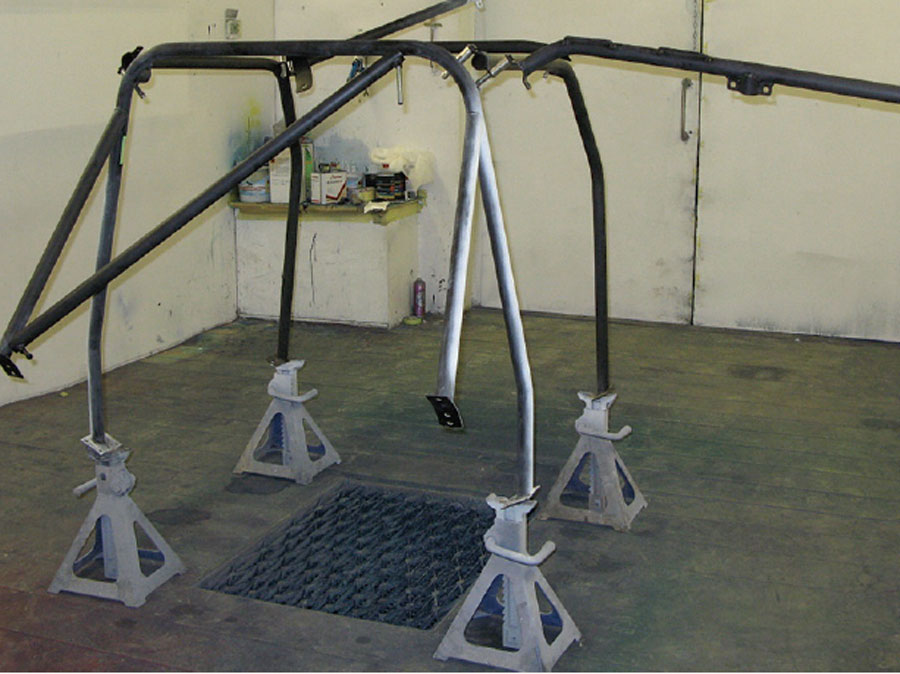
Even non-body components like the bolt-in roll cage receive the paint treatment. After prepping and flatting the original paint, we follow the same process of etch priming, high-build priming, and painting, ensuring a cohesive look. Remember to mask off any crucial elements like certification stickers.
A Look Inside the Painted Shell
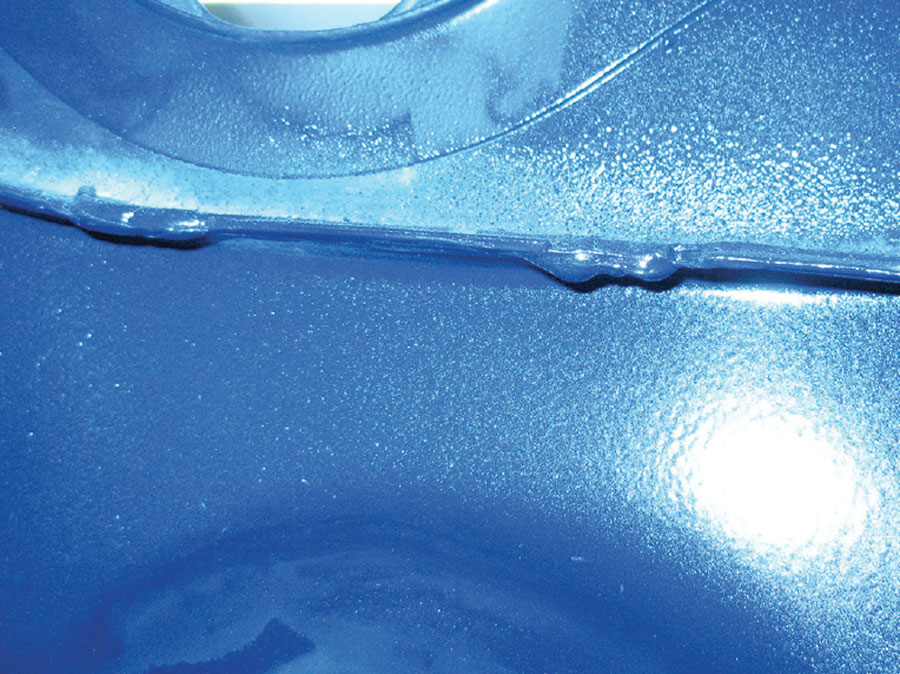
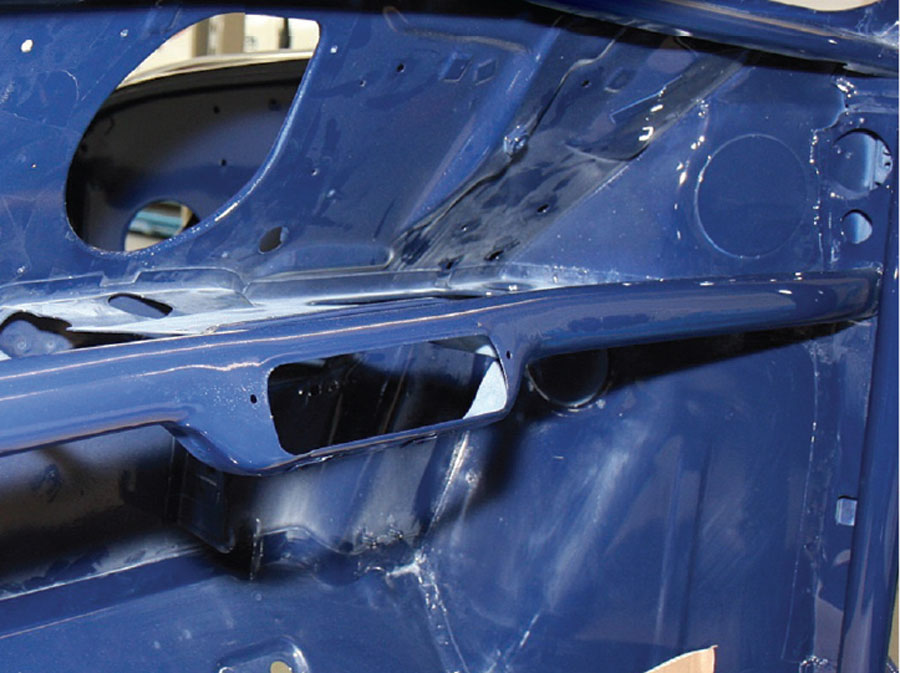
A peek inside the painted wing reveals exceptional paint coverage and additional MIG welds added to the front panel inner seam for strength and water sealing. This area is particularly vulnerable to rust due to water spray from the front tire, so taking extra care is crucial.
The Importance of Detail
The polishing process can reveal hidden imperfections, like the slight damage on the dash top rail. While we'll be covering this area with a dash cover for our instrument pod, it highlights the importance of a thorough inspection during restoration.
In the next part of the Bogus 2 saga, we'll delve into the subframes and running gear and the journey towards getting this classic Mini back on the road!
Want to read Keeping Your Mini Alive 6th Edition Magazine? Download the PDF here
Don't miss out on the rest of the Bogus 2 Series!
This blog series is your one-stop shop for following Bogus 2's incredible journey from a bare shell to a road-worthy classic. Check out the rest of the series for tips and advice for every stage of your Mini restoration!
No matter your vision, our team of passionate Mini specialists is here to turn it into reality. With our extensive knowledge and huge range of Mini parts and accessories, we can help you build the perfect Mini for your needs.
Contact us today and let's discuss how we can transform your Mini into a legend

