Equipping your classic Mini for motorsport requires prioritising both performance and safety. In this post, we delve into Mini Sport Ltd.'s process for installing a bolt-in roll cage on the Bogus 2 rebuild project.
Installing a Bolt-In Roll Cage: Bogus 2 Build

Balancing Safety and Convenience: Bolt-In vs. Weld-In Cages
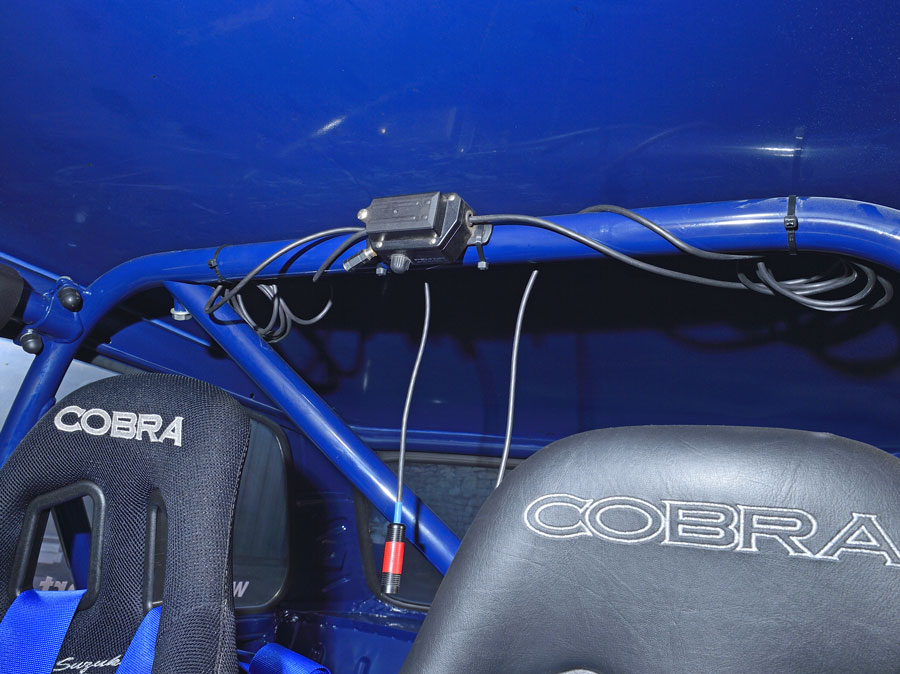
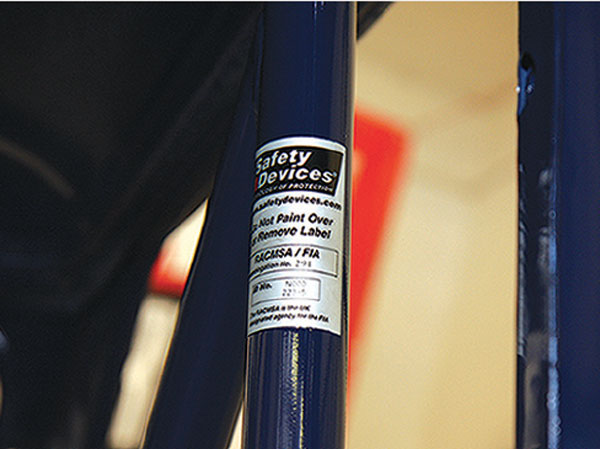
The Bogus 2 features a minimum-spec FIA/RACMSA Safety Devices 7-point bolt-in cage. This choice offers several advantages:
- Lighter Weight: Compared to welded cages, the bolt-in design saves weight, crucial for performance gains.
- Easier Painting and Repairs: Bolt-in cages are removable, simplifying the painting process and future repairs.
Pre-Paint Preparations: Ensuring a Perfect Fit
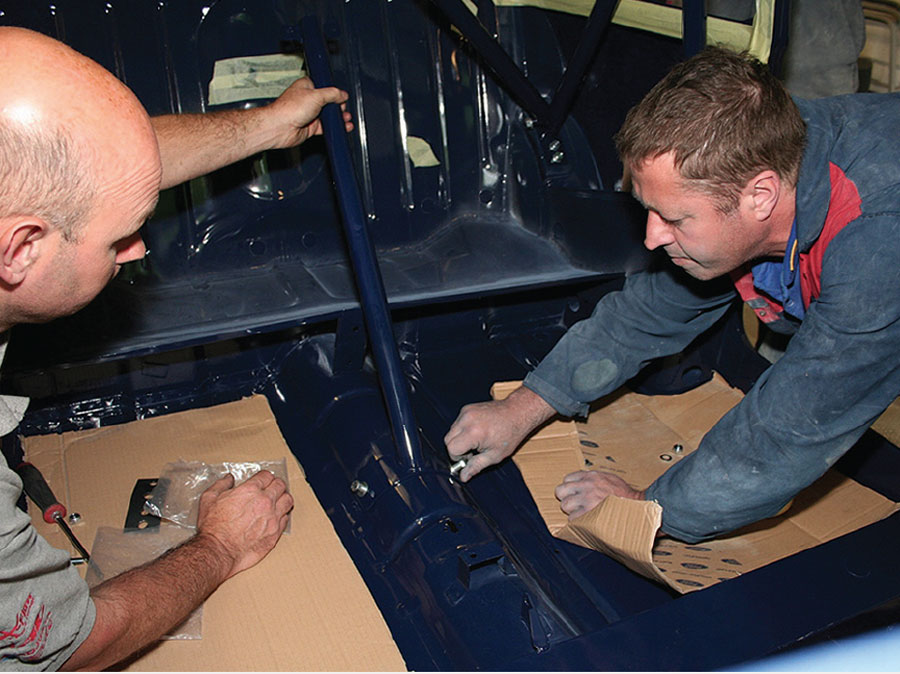
A crucial step before painting involves a trial fit of the cage. This allows for any necessary modifications to both the shell and the cage itself. Additionally, the base plate positions can be finalised and drilled at this stage.
Strengthening Key Points: Base Plate Welding
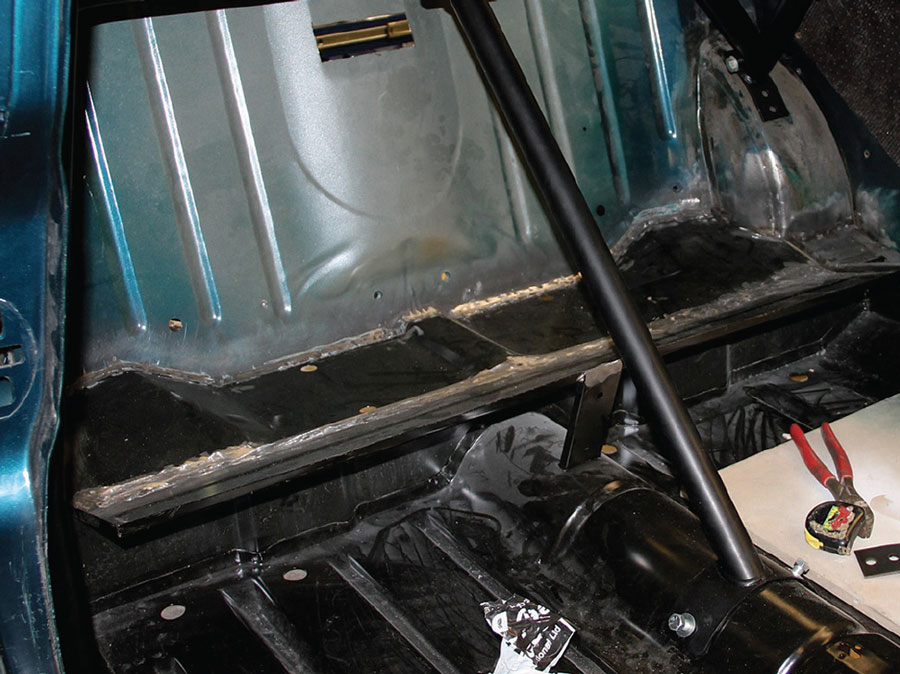
The thick base plate for the front hoop requires special attention during welding. Here's the technique used by Mini Sport Ltd.:
- Focus the weld heat on the thicker base plate edge, allowing it to melt into the thinner floorpan steel below.
- Another plate is located below the B-pillar for added reinforcement.
Mini Sport Ltd.'s Custom Touches: Enhanced Cage Support
Mini Sport Ltd. incorporates a few modifications to the standard Safety Devices cage:
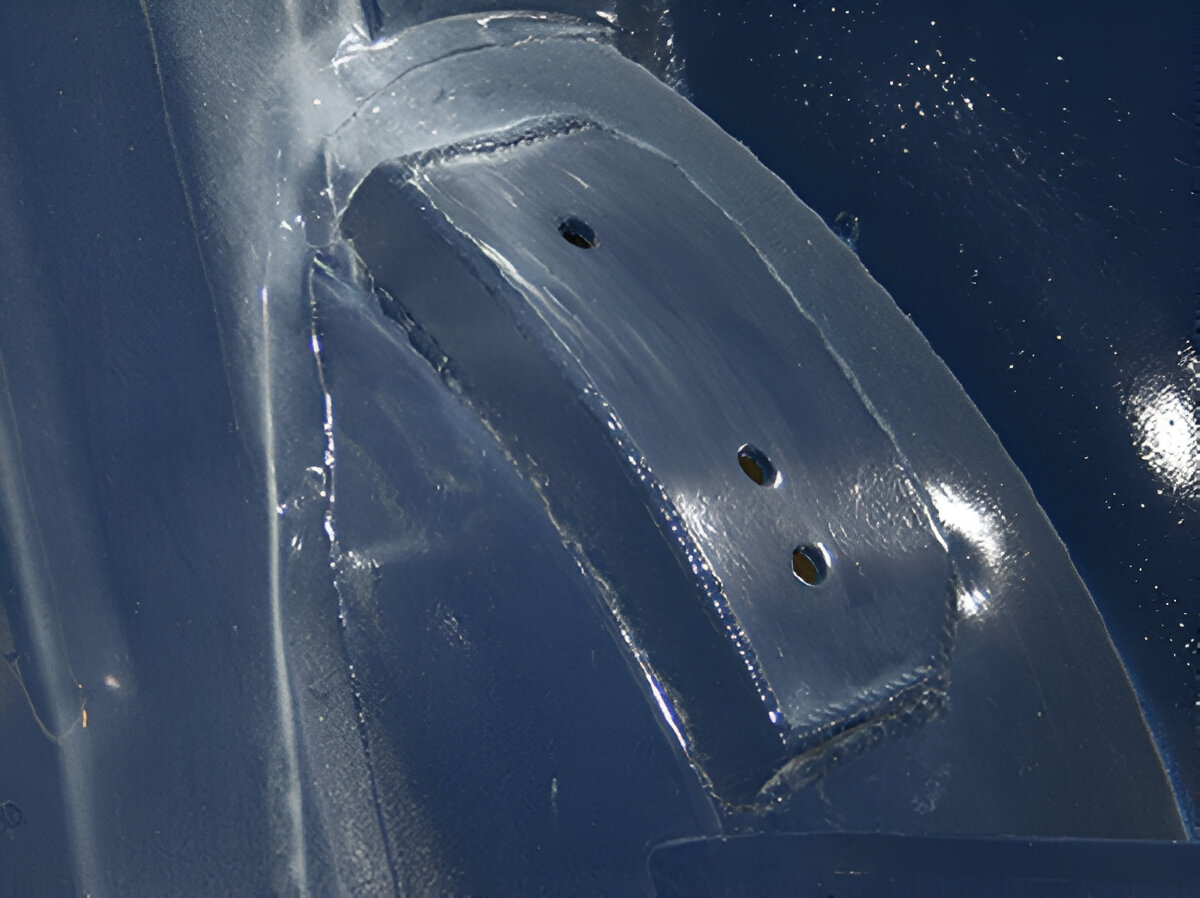
- Extended Rear Arch Foot: The cage foot connecting to the rear arch is extended for improved support.
- Additional Boxed-In Plate: This plate provides additional support for the cage due to the "inboard" curvature of the rear arch.
Protecting the Fresh Paint: Essential Precautions
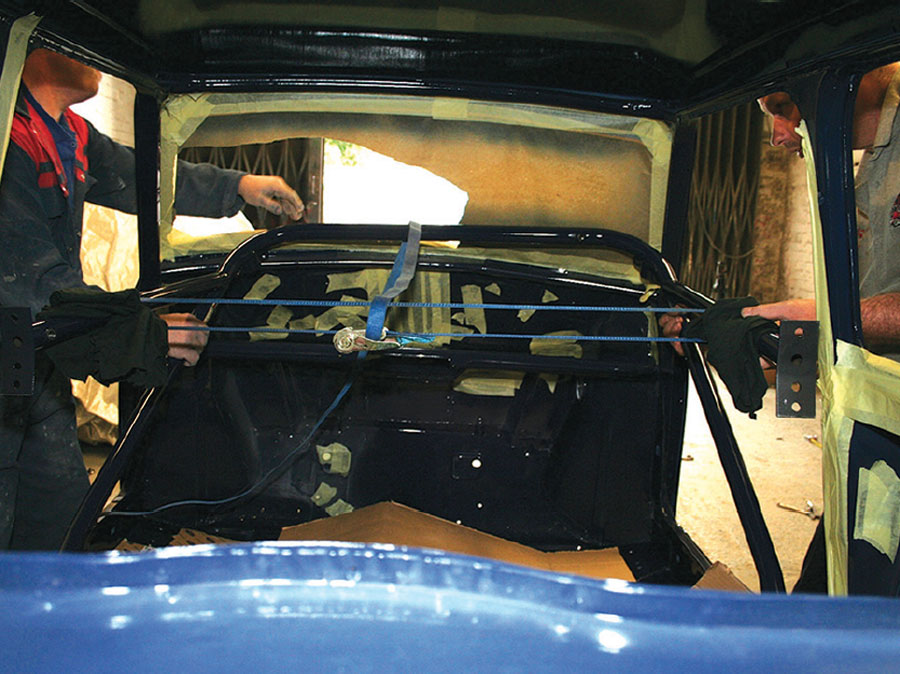
Once the cage is painted, meticulous care is taken to avoid damaging the finish during installation. Here are some of the techniques used:
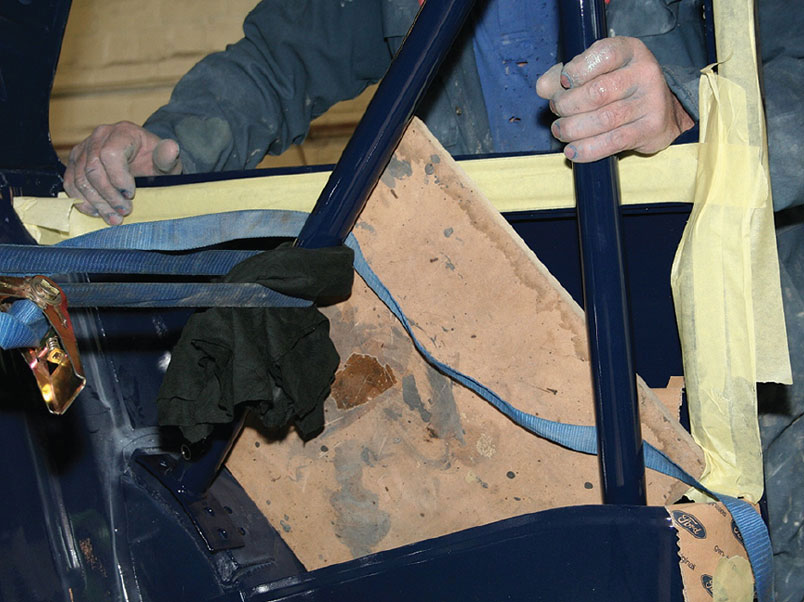
Cardboard and Masking Tape: These materials protect the floor, rear inside edges, and door edges from scratches.
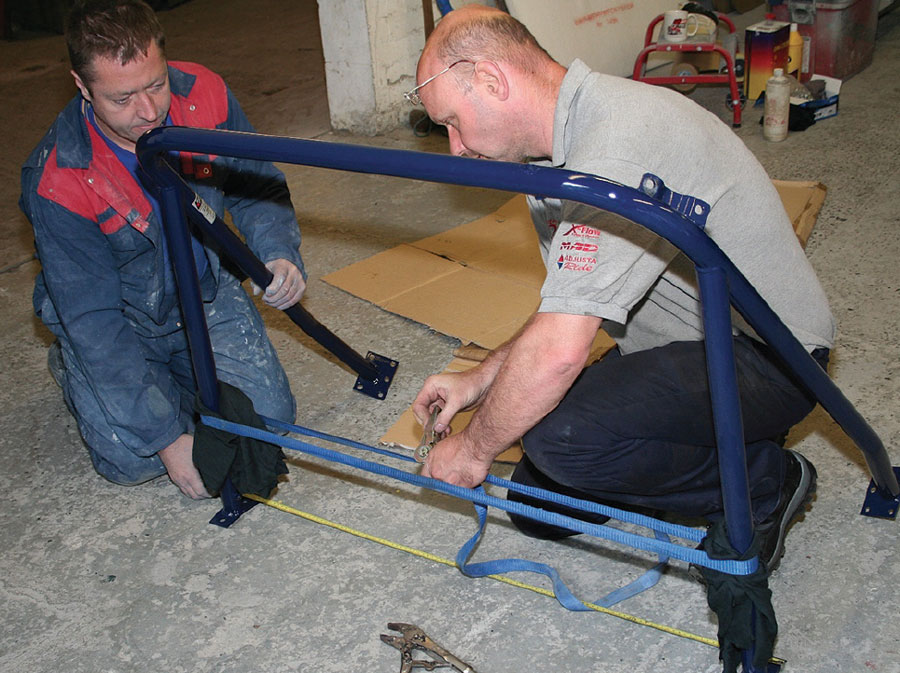
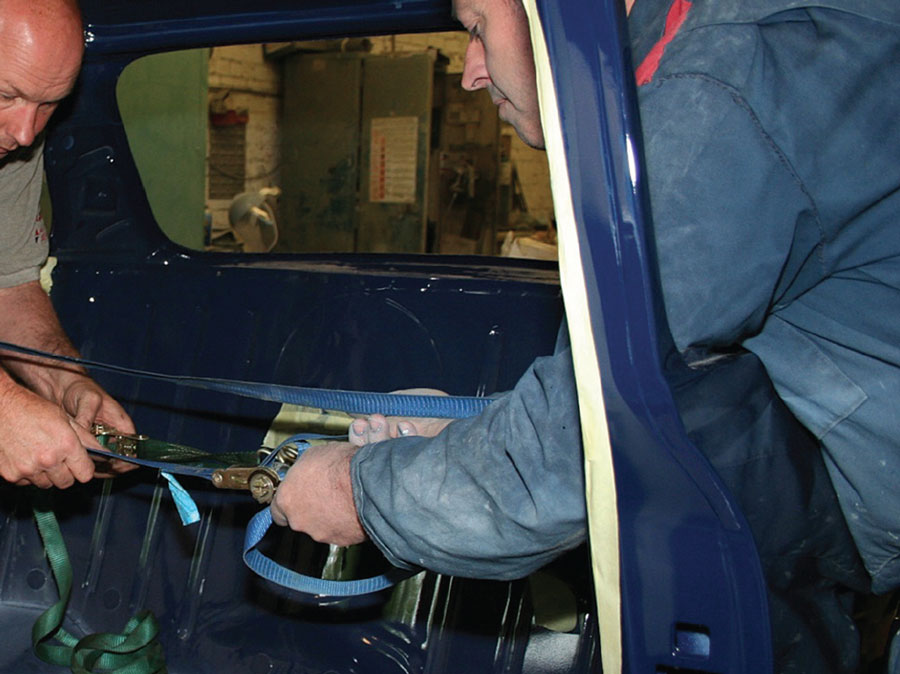
Ratchet Straps and Cloths: The rear hoop is carefully positioned using straps with cloths to prevent paint damage.
Two-Person Manoeuvre: Fitting the rear hoop is a delicate process best tackled by two people to avoid any rushed movements.
The Final Steps: Securing the Cage and Maintaining Certification
- Tightening the Straps and Bolts: The rear hoop is secured with ratchet straps before tightening the fastening bolts. A secondary strap is used for additional safety during bolt installation.
- Bolt Placement and Passenger Safety: The direction of the securing bolts is carefully considered, ensuring they don't interfere with the tire on full bump or pose a risk to passengers' heads.
- FIA/RACMSA Certification: This crucial element ensures the cage meets motorsport safety regulations.
While this guide provides an overview of installing a bolt-in roll cage, remember, safety is paramount in motorsport. For a guaranteed safe and effective roll cage installation specific to your Mini, consult a trusted Mini specialist like Mini Sport Ltd. Their expertise and experience will ensure your motorsport dreams become a reality, without compromising on safety.
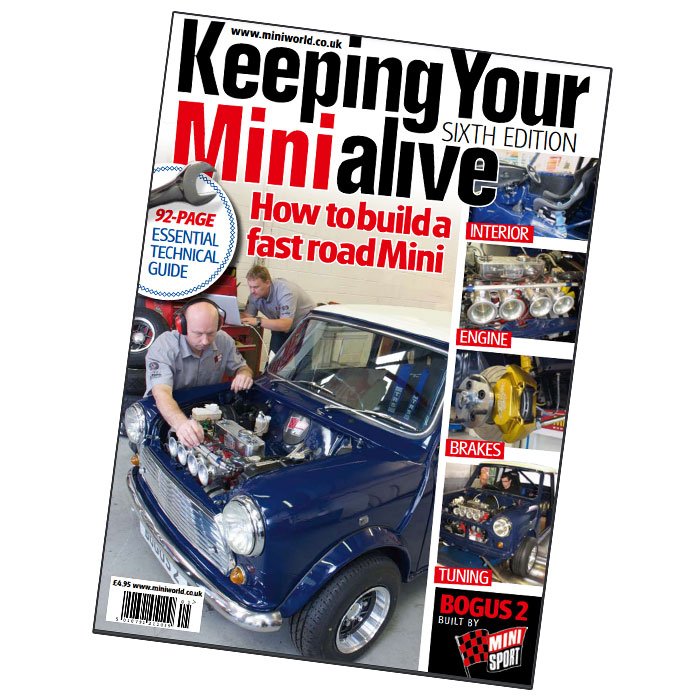
Want to read Keeping Your Mini Alive 6th Edition Magazine? Download the PDF here
Don't miss out on the rest of the Bogus 2 Series!
This blog series is your one-stop shop for following Bogus 2's incredible journey from a bare shell to a road-worthy classic. Check out the rest of the series for tips and advice for every stage of your Mini restoration!

